
CNC Post-Milling and Polishing: How to Achieve Mirror Finish
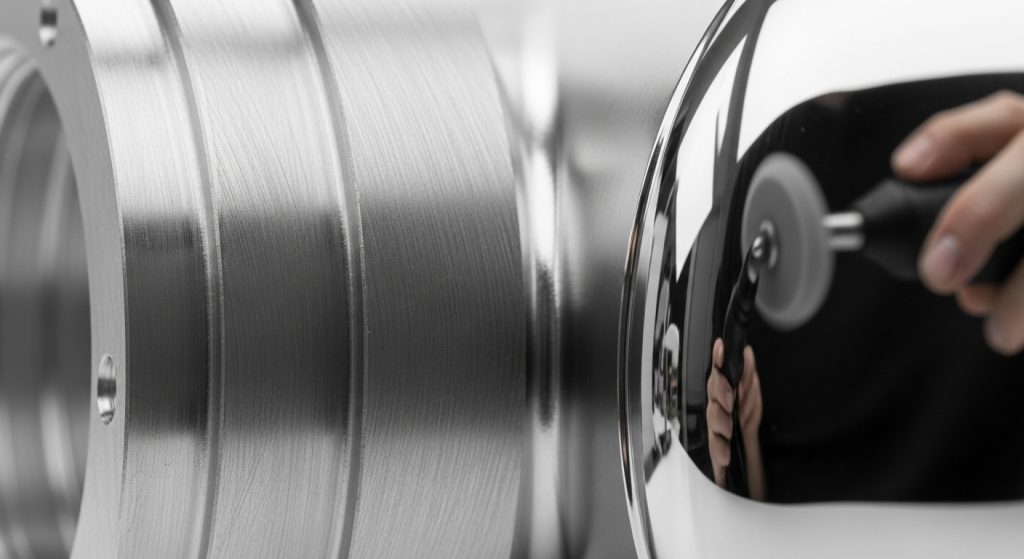
CNC post-milling and polishing is a multi-stage refinement process that removes machining marks and surface irregularities to create a reflective, mirror-like finish. This transition from a "milled" state to a high-gloss surface involves systematic grit reduction, specialized polishing compounds, and precise rotational speeds. For industrial manufacturers, achieving this finish is essential for optical clarity, reduced friction, and high-end aesthetic appeal in sectors like automotive and consumer electronics.
What defines a mirror finish in CNC machining?
A mirror finish, often referred to as an "optical finish" or SPI A-1 grade, is a surface with a roughness average (Ra) typically below 0.05 micrometers. It is characterized by high specular reflection, where light reflects off the surface without scattering, allowing for a clear, undistorted image of surrounding objects. Achieving this requires moving beyond standard CNC machining service capabilities into specialized abrasive territory.
In the world of precision manufacturing, we don't just "buff" a part until it shines. We use profilometers to measure the microscopic peaks and valleys of the material. A standard milled part might have an Ra of 3.2 or 1.6. To reach a mirror finish, we must reduce those peaks through a series of increasingly fine abrasive steps.
| Finish Grade | Ra (μm) | Description | Typical Use Case |
| SPI A-1 | 0.012 to 0.025 | Grade #3 Diamond Buff | Optical lenses, high-end mirrors |
| SPI A-2 | 0.025 to 0.05 | Grade #6 Diamond Buff | High-gloss consumer plastics |
| SPI A-3 | 0.05 to 0.10 | Grade #15 Diamond Buff | Decorative trim, appliance parts |
Why is CNC post-milling preparation critical for polishing?
Post-milling preparation is critical because the quality of the final polish is directly dictated by the consistency of the initial tool paths. If the CNC mill leaves deep gouges or inconsistent "scallop" heights, those defects will be magnified rather than hidden by polishing. Precise low-volume CNC parts require tight-tolerance milling to minimize the time spent in manual abrasive stages.
I’ve seen many projects fail because the machinist tried to "save time" on the mill by using a larger step-over. While the part looked okay to the naked eye, the polishing team spent three times as long trying to sand out the ridges. The rule of thumb in our shop is: the better the mill work, the shorter the polishing bench time.
Tip: Use a ball-nose end mill with a very small step-over (5% or less of the tool diameter) for the final finishing pass if you intend to polish the part to a mirror finish.
How do you transition from a milled surface to a polished one?
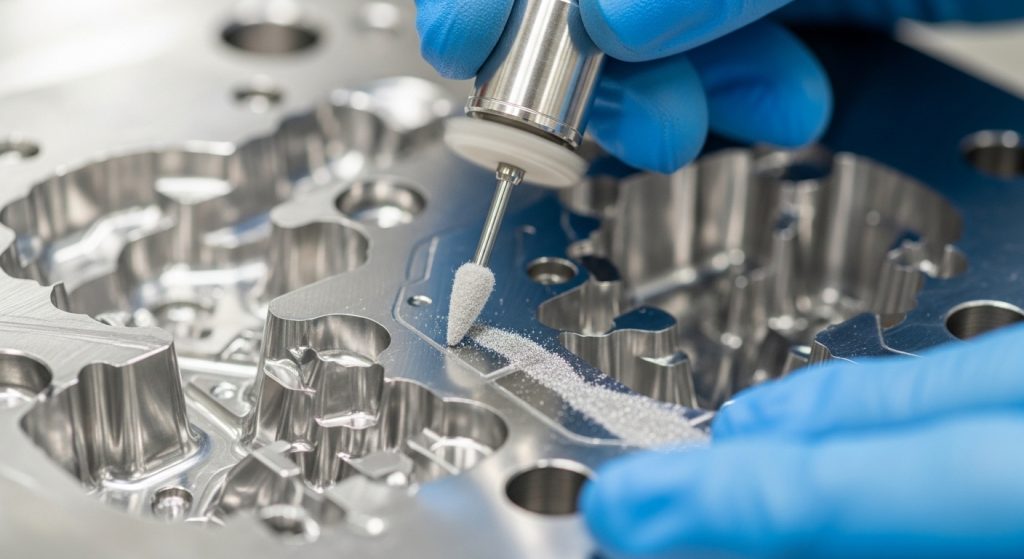
The transition involves a process called "grit sequencing," where you systematically replace deep scratches with shallower ones. You begin with a coarse abrasive that can level the milling marks and move to progressively finer grits until the scratches are no longer visible to the human eye. This is essential for nylon CNC machining and metal parts alike.
- Initial Sanding (320-400 Grit): Remove the visible tool marks and scallops from the milling process.
- Intermediate Sanding (600-1200 Grit): Smooth the surface and prepare it for the pre-polishing stage.
- Pre-Polishing (2000-3000 Grit): At this stage, the part will begin to show a slight "haze" or semi-reflectivity.
- Final Polishing (Diamond Compound): Using a rotary tool with a felt bob and diamond paste to reach the final mirror state.
What role does material selection play in mirror finishing?
Material selection is the foundation of a mirror finish because the molecular structure determines how the surface reacts to abrasives. Harder metals like stainless steel (316L) or tool steels (S136) can achieve a much higher level of "specular" reflection than softer materials like aluminum, which may "smear" if the polishing temperature gets too high.
When working with cnc-turning components, we must also consider the grain structure of the material. High-quality, vacuum-degassed steels are preferred for mirror finishes because they lack the microscopic inclusions and "pinholes" that can ruin a finish during the final buffing stage.
- Stainless Steel (S136): The industry standard for high-gloss injection molds.
- Aluminum (6061/7075): Can reach a high shine but is prone to oxidation and scratching.
- Acrylic (PMMA): The best plastic for optical clarity via polishing.
- Nylon/Polycarbonate: Requires specialized compounds to prevent melting during high-speed buffing.
How can you prevent "orange peel" and "pitting" during polishing?
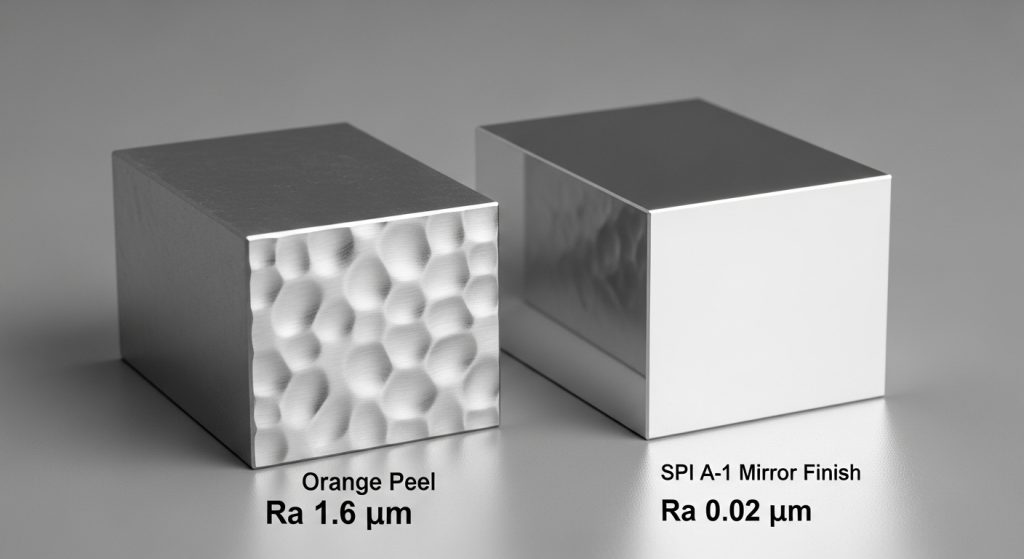
Orange peel and pitting are prevented by controlling the pressure and heat generated during the polishing process. Over-polishing a specific area or using excessive pressure causes the grain of the metal to "tear" or ripple, creating an uneven texture. Consistent, overlapping strokes and frequent cleaning of the workpiece are the primary defenses against these defects.
Tip: Always change your polishing direction by 90 degrees when moving from one grit to the next. This allows you to see if you have completely removed the scratches from the previous, coarser grit.
What equipment is required for professional mirror polishing?
Professional mirror polishing requires a combination of high-speed rotary tools, calibrated abrasive media, and precision measurement instruments. While hand-polishing is common for complex geometries, automated systems or "ultrasonic polishers" are used for high-consistency cnc-turning and mold-making applications.
- Rotary Micro-Grinders: Essential for detail work in tight corners.
- Ultrasonic Polishers: Uses high-frequency vibration to achieve fine finishes without the heat build-up of rotary tools.
- Diamond Polishing Pastes: Available in various micron sizes (e.g., 15-micron for pre-polish, 1-micron for final mirror).
- Felt Bobs and Laps: The "carriers" for the polishing compound.
How do you verify the quality of a mirror finish?
Verification is done through a combination of visual inspection under high-intensity light and quantitative measurement using a profilometer. A true mirror finish must be free of "haze," "swirl marks," and "comet tails" (small streaks trailing from a microscopic inclusion).
In a production environment, we use "limit samples" or "golden samples" to ensure consistency across batches. If the part is an optical component, we might also use a laser reflectivity test to ensure the light scatter is within the allowed tolerance of the design specification.
Which polishing compounds work best for different metals?
The "best" compound depends on the hardness of the metal and the desired final color of the reflection. For example, chromium oxide (green rouge) is excellent for stainless steel, while aluminum oxide (white rouge) is better suited for aluminum and softer non-ferrous metals.
| Compound Color | Abrasive Type | Best For |
| Black | Emery | Heavy scratch removal |
| White | Aluminum Oxide | Final finish on hard metals |
| Green | Chromium Oxide | Mirror finish on Stainless Steel |
| Red (Rouge) | Iron Oxide | High-color buffing for gold/silver/brass |
What are the common mistakes in CNC post-milling polishing?
The most common mistake is skipping grit sizes in an attempt to reach the finish faster. If you move from 400 grit directly to 1000 grit, you will fail to remove the deep scratches left by the 400 grit. These scratches will remain visible as "ghost lines" even after the part has a high-gloss shine.
Another common error is contamination. If a single grain of 400-grit sand gets onto your 3000-grit polishing cloth, it will act like a knife, creating deep new scratches on your nearly-finished surface. We keep each grit level in a separate, sealed container to prevent cross-contamination.