
How to Reduce Finishing Costs for Injection Molded Parts
Achieving cost-effective finishing for molded parts starts long before the plastic hits the tool; it begins with strategic design and material selection. In the competitive landscape of manufacturing, secondary operations like painting, polishing, and assembly can often double the price of a component. By understanding the levers that control these expenses, manufacturers can significantly improve their margins without sacrificing quality. This guide explores the most effective strategies to streamline your production and minimize post-molding overhead.
What are the primary factors driving injection molding finishing costs?
Finishing costs are primarily driven by labor-intensive manual processes, specialized equipment requirements, and high scrap rates during secondary operations. When a part requires hand-polishing or complex masking for painting, the "touch time" per unit increases exponentially. Additionally, every secondary step introduces a new opportunity for defects, which can lead to costly material waste and re-runs.
In my two decades on the factory floor, I’ve seen countless projects where the finishing budget was three times the actual molding cost. The "hidden" drivers often include:
- Manual Labor: Hand-deburring or manual gate removal is the silent killer of profitability.
- Specialized Tooling: Custom jigs and fixtures for painting or ultrasonic welding add significant upfront CAPEX.
- Environmental Compliance: Handling solvents for coatings or chemicals for plating requires expensive ventilation and disposal systems.
- Energy Consumption: Heat-curing ovens for industrial coatings draw massive amounts of power over long production cycles.
| Finishing Process | Relative Cost | Primary Driver |
| Buffing/Polishing | Very High | Skilled Manual Labor |
| Painting/Coating | High | Material & Environmental Compliance |
| Pad Printing | Medium | Setup & Ink Consumables |
| Self-Finishing (As-Molded) | Very Low | Tooling Precision |
| Ultrasonic Welding | Medium | Equipment & Cycle Time |
According to industry data [Insert Data: Average secondary operation costs typically account for 30-50% of the total part price], optimizing for "as-molded" finishes is the single most effective way to protect your bottom line.
How can part design minimize the need for secondary operations?
You can minimize finishing costs by designing parts that exit the mold in a "ready-to-ship" state, utilizing textured molds to hide imperfections and optimizing gate placement. By integrating features like snap-fits or living hinges, you eliminate the need for secondary assembly or fasteners. Smart design ensures that the plastic parts are functional and aesthetic without requiring additional human intervention.
When we consult on new designs, we often find that a 1-degree change in draft angle can be the difference between a part that needs manual polishing and one that slides out of the mold with a perfect finish.
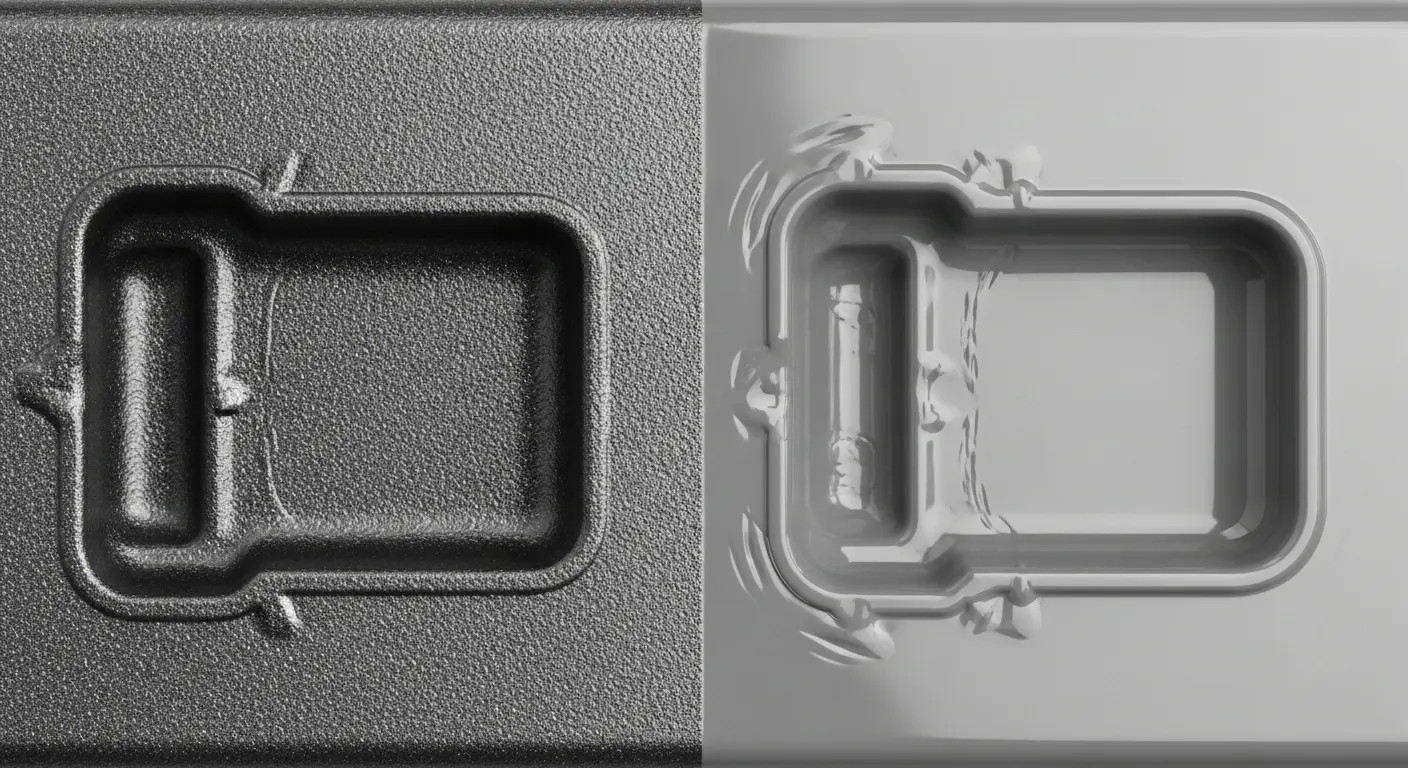
Can texture hide molding defects?
Yes, utilizing Mold-Tech or similar texturing standards can mask sink marks, flow lines, and minor knit lines. Instead of paying for a high-gloss finish that requires a cleanroom environment and constant inspection, a matte or "leather" texture can significantly lower your scrap rate. This is particularly useful for industrial components where durability is more important than a mirror-like sheen.
Is gate placement a cost factor?
Absolutely. We once worked with a client who was spending $0.15 per part just to manually trim a vestige from a visible surface. By moving to a sub-gate or a "hot runner" system, the part was degated automatically inside the tool. While the initial tool cost was slightly higher, the savings on labor paid for the difference within the first 10,000 units.
Tip: Always design for "Gate Disguise." Place gates in recessed areas or under labels so that any remaining vestige does not require manual sanding or aesthetic correction.
Why is mold surface finish critical for cost-effective finishing?
The mold's surface finish determines the part's final appearance, meaning a high-quality tool can eliminate the need for post-process buffing or painting. While a high-gloss SPI-A1 finish is expensive to produce, it is often cheaper than manually polishing thousands of parts. Choosing the right tool finish ensures that materials like acrylic injection molding retain their clarity without secondary steps.
Think of the mold as the "master" of your finish. If the master is flawed, every single copy will require a "fix."
- SPI-A1 (Grade #3 Diamond Buff): Best for optical parts, but extremely sensitive to scratches.
- SPI-B2 (400 Grit Paper): A standard semi-gloss that balances cost and aesthetics.
- SPI-C1 (600 Stone): A matte finish that hides fingerprints and minor scratches during handling.
If you are molding transparent materials, you must decide: do I pay for the high-end tool finish now, or do I pay a worker to polish parts for the next three years? Usually, the upfront investment in the tool wins.
Can material selection reduce the need for painting or coating?
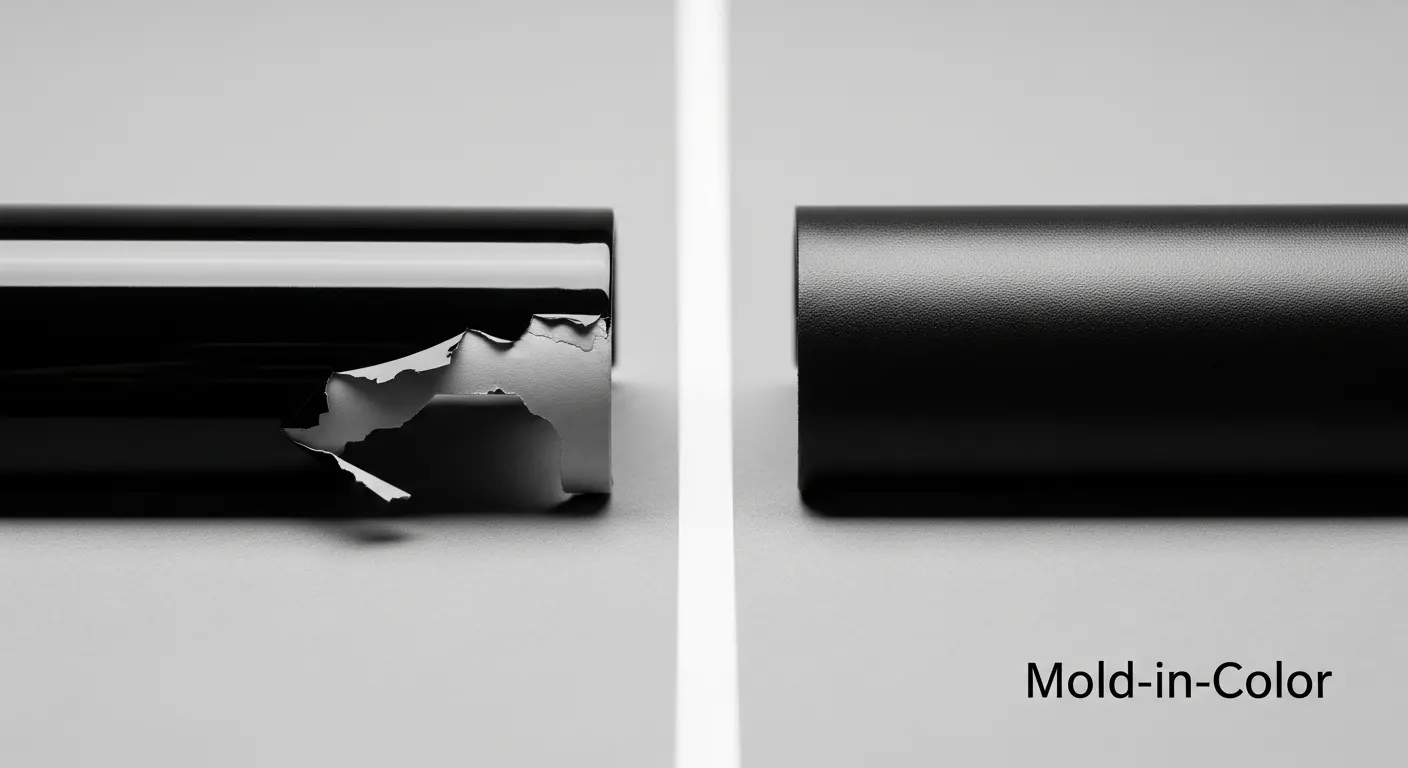
Selecting the right resin can entirely eliminate the need for painting by providing built-in UV resistance, color, and chemical durability. High-performance polymers can be pre-colored (salt-and-pepper mix or compounded color) to achieve the desired look straight from the press. This approach removes the labor, equipment, and environmental headaches associated with external spray booths.
For instance, using dual-material tooling allows you to mold a soft-touch grip directly onto a hard plastic housing. In the old days, you’d have to mold two parts and glue them together or spray a "soft-touch" coating over the plastic. Both were expensive and prone to peeling. Overmolding provides a superior bond and zero secondary finishing costs.
Similarly, if your part needs flexibility and heat resistance, silicone compression molding often yields a finish that is naturally non-slip and aesthetically pleasing, requiring nothing more than a quick flash trim.
| Material Feature | Finishing Benefit | Savings Potential |
| Pre-Colored Resin | Eliminates Painting | 20-40% |
| UV Stabilizers | Eliminates Protective Coating | 10-15% |
| Mold-in-Color (MIC) | Eliminates Surface Scratch Issues | High (Lower Scraps) |
| Self-Lubricating Plastics | Eliminates Post-Molding Grease | 5-10% |
What is the role of automation in reducing finishing expenses?
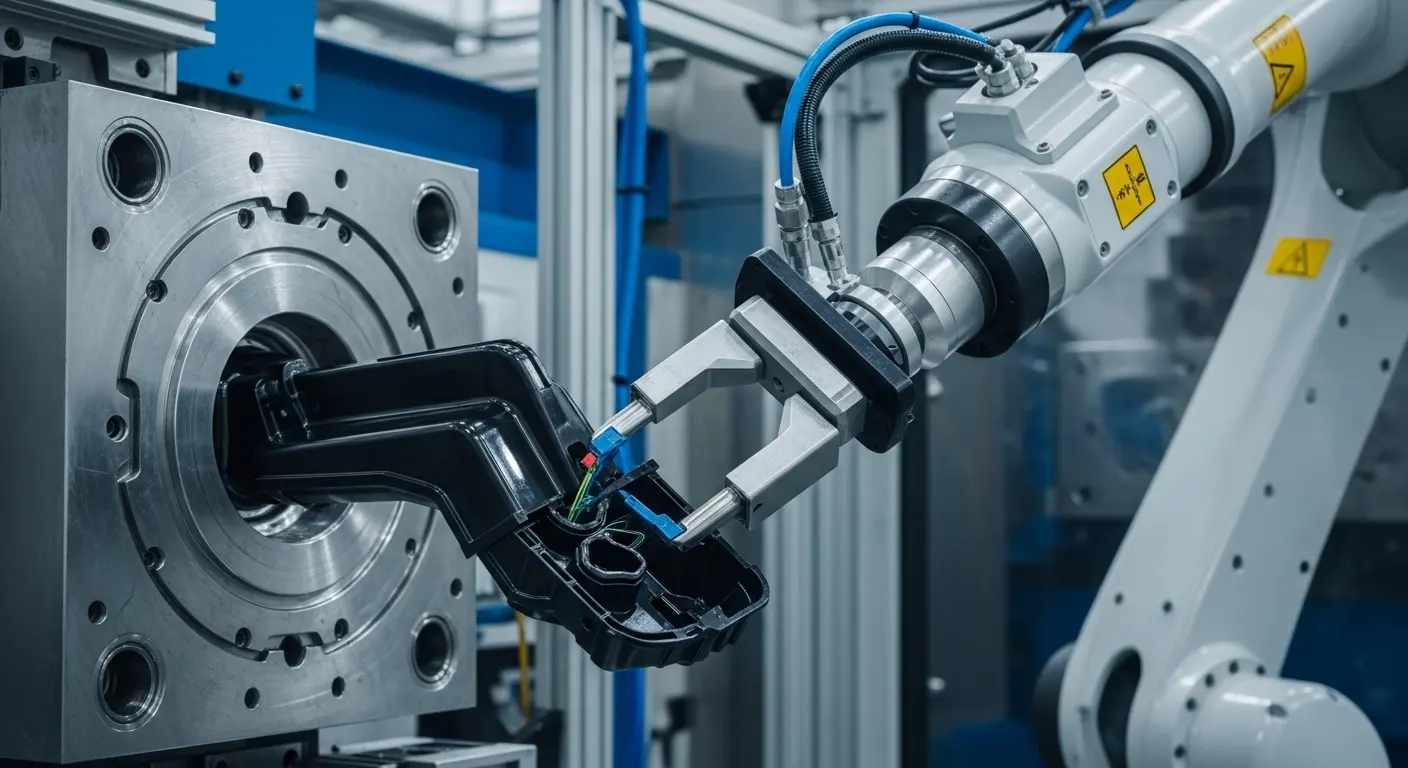
Automation reduces finishing costs by performing repetitive tasks like degating, deflashing, and packaging with 100% consistency and zero labor fatigue. Robotic arms integrated with the injection molding machine can trim gates while the part is still warm, ensuring a cleaner cut. Automation also drastically reduces the "human error" factor, which is the leading cause of finishing-related scrap.
I remember a project where we implemented a simple 6-axis robot to handle flame-treating for a polypropylene part before labeling. Before the robot, the "flaming" was done by hand. The inconsistency led to a 12% label failure rate. Once automated, the failure rate dropped to [Insert Data: Industry standards show automation can reduce finishing defects by up to 95%], and the cycle time was reduced by 4 seconds per part.
Tip: Even simple "end-of-arm" tooling (EOAT) can be designed to perform basic deburring. Ask your molder if their robots can be equipped with nippers or blades to automate gate removal.
How does low-volume production impact finishing cost strategy?
For low-volume production, the best cost-saving strategy is to use simplified finishing techniques or hybrid manufacturing methods to avoid high setup costs. When you aren't making millions of parts, expensive automated systems or high-end steel molds don't make financial sense. In these cases, utilizing low-volume CNC parts for secondary fixtures or prototypes can keep your project agile and within budget.
In low-volume scenarios, you have a "Trade-off Triangle":
- Labor vs. Tooling: It might be cheaper to pay a technician to manually deburr 500 parts than to spend $5,000 on a specialized trimming die.
- Stock Materials: Using pre-textured or pre-colored stock materials for CNC-finished parts can bypass the molding setup entirely.
- Universal Fixtures: Design finishing jigs that can be used for multiple part iterations rather than a single specific design.
Which secondary processes offer the best ROI?
The best ROI comes from processes that add significant functional or aesthetic value with minimal cycle time, such as laser marking or ultrasonic welding. Processes that are easily scaled and have low consumable costs always outperform manual "artisan" finishes. Laser marking, for example, is permanent, extremely fast, and requires no inks or solvents, making it far more cost-effective than pad printing for long-term production.
When should you choose Laser Marking over Pad Printing?
Pad printing requires custom silicone pads, clichés (plates), and specific ink mixes. Every time you change the design, you pay for new plates. Laser marking, however, is digital. You can change the serial number or logo on the fly with no additional tooling cost.
Is Heat Staking worth it?
If you are joining plastic to metal, heat staking is often much more reliable and cheaper than adhesives. Adhesives require cure time, specialized storage, and careful application. Heat staking uses the part’s own material to create the bond, resulting in a cleaner finish and lower material costs.
Tip: If your brand requires a logo, consider "molding it in" (bas-relief or debossed) during the tooling stage. It’s free for the life of the tool and can never wear off or peel.
Summary: A Checklist for Lowering Finishing Costs
To truly master cost-effective finishing for molded parts, you must view the manufacturing process as a single, holistic system rather than a series of isolated steps. Every decision made at the drafting table echoes through the paint booth and the assembly line.
- Design for the "As-Molded" look: Use textures to hide flaws.
- Prioritize Mold-in-Color: Skip the spray booth whenever possible.
- Optimize Gate Locations: Automate degating through smart tool design.
- Leverage Overmolding: Replace assembly labor with machine precision.
- Audit Your Scrap: Identify which finishing step causes the most rejects and fix the root cause in the tool.
By implementing these strategies, you can reduce your secondary operation costs by 30% or more, allowing you to remain competitive in an increasingly tight global market.
Would you like me to help you analyze a specific part design to see where we can cut finishing steps?