


Plastic Injection Molding Process: Step-by-Step Guide
The plastic injection molding process steps represent a highly engineered cycle that transforms raw polymer pellets into precise, high-performance parts. This manufacturing technique is the backbone of modern production, responsible for everything from medical syringes to automotive dashboard components. By understanding the mechanical nuances of each stage—from clamping and injection to cooling and ejection—engineers can optimize cycle times and significantly reduce production costs. This definitive guide breaks down the complex journey from resin to reality, ensuring your project achieves peak efficiency and structural integrity.
What is the Plastic Injection Molding Process?
The plastic injection molding process is a cyclic manufacturing method where molten plastic is forced under high pressure into a custom-designed metal mold. Once the material cools and solidifies into the shape of the cavity, the mold opens to eject the finished part. This process is prized for its ability to produce thousands of identical, complex components with high dimensional accuracy and minimal waste.
In my two decades on the factory floor, I’ve seen many designers treat this process like a "black box." They put CAD in and expect parts out. However, the reality is much more tactile. I remember a project for a high-end consumer electronics brand where the parts were coming out with consistent "silver streaks" or splay. By analyzing the plastic injection molding process steps, we realized the resin hadn't been dried for the required four hours at 80°C. That tiny oversight in the "pre-step" cost the client three days of downtime. The process is only as strong as its weakest link.
What are the Primary Plastic Injection Molding Process Steps?
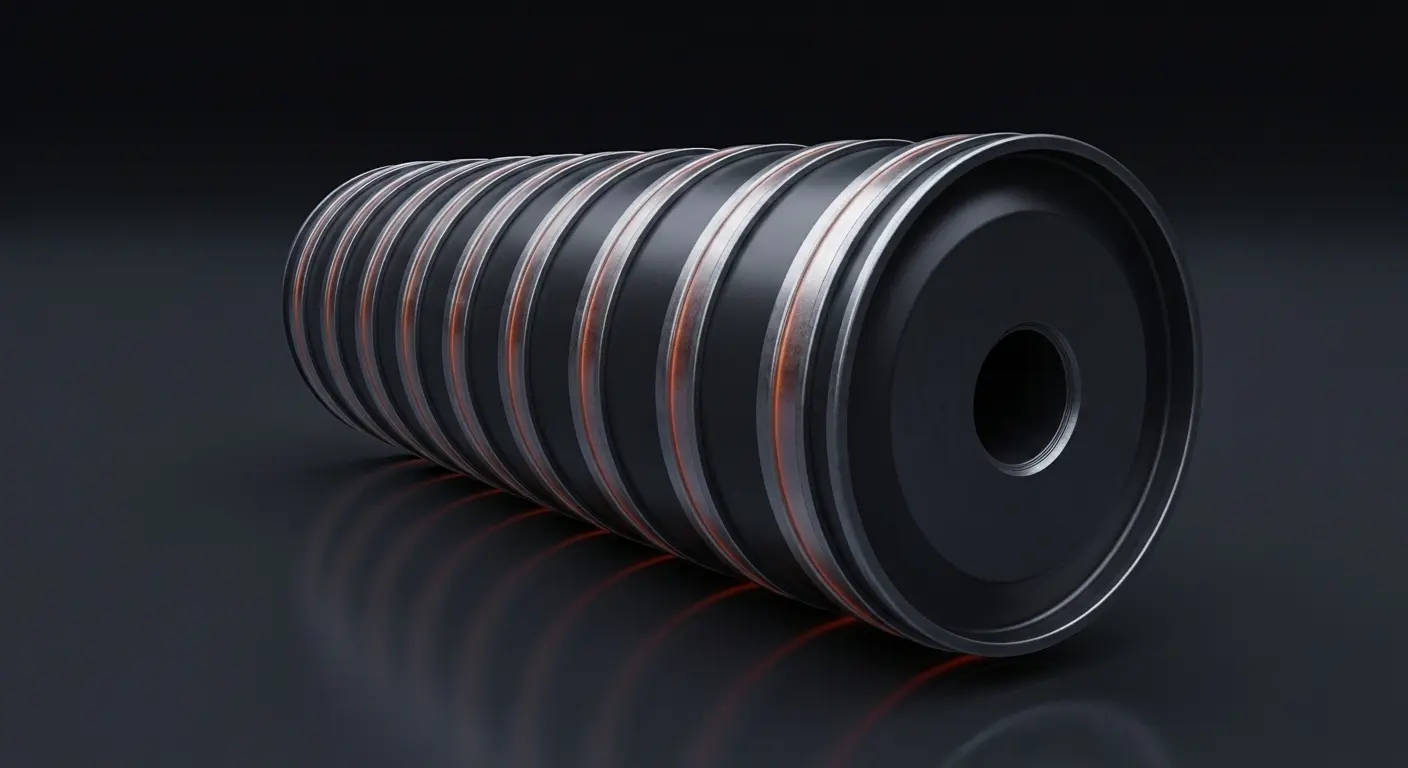
The primary plastic injection molding process steps consist of six key stages: Clamping, Injection, Dwelling (Holding), Cooling, Mold Opening, and Ejection. This entire sequence, known as the "molding cycle," typically lasts between 10 seconds and two minutes, depending on the part’s wall thickness and the thermal properties of the material being used.
Efficiency in molding is measured in seconds. If you can shave two seconds off a 30-second cycle through better thermal management, you increase your daily output by nearly 7%. For high-volume projects, this efficiency is the difference between a profitable venture and a financial drain.
The 6 Core Stages of the Molding Cycle
| Stage | Duration | Primary Function |
| 1. Clamping | 1 - 5 Seconds | Secures the two halves of the mold under tons of pressure. |
| 2. Injection | 1 - 10 Seconds | The screw moves forward to push molten resin into the cavity. |
| 3. Dwelling | 2 - 15 Seconds | Maintains pressure to ensure the cavity is completely filled. |
| 4. Cooling | 10 - 60+ Seconds | The longest stage; allows the part to solidify. |
| 5. Opening | 1 - 5 Seconds | The moving platen separates the mold halves. |
| 6. Ejection | 1 - 5 Seconds | Mechanical pins push the part out of the mold. |
Why is the Clamping Stage Critical for Part Quality?
The clamping stage is critical because it prevents "flash"—excess plastic that leaks out of the mold seams—by applying enough hydraulic or electric force to counteract the high pressure of the incoming molten plastic. If the clamping force is too low, the mold halves can separate slightly; if it is too high, it can damage the mold or vent paths, leading to trapped gas and burn marks.
Calculating the required tonnage is a precise science. Generally, you need between 2 and 5 tons of clamping force for every square inch of the part’s "projected area." If you are molding a plastic injection molding part with a large surface area, you need a machine with massive clamping capacity to keep the tool shut tight.
How Does the Injection Stage Influence Structural Integrity?
The injection stage influences structural integrity by controlling the "melt front" as it enters the mold; if the injection speed is too slow, the plastic may cool prematurely, causing "short shots." If it is too fast, the friction can cause "shear heat," which degrades the polymer chains and weakens the final part's mechanical properties.
During injection, the reciprocating screw acts as a plunger. It’s not just about speed; it’s about "profiled" injection. Modern machines allow us to start the injection slowly to prevent jetting, speed up to fill the bulk of the cavity, and then slow down again as the mold reaches capacity. This level of control is essential for complex 2k injection molding methods where two different materials are being injected into the same space.
What Happens During the Dwelling and Cooling Stages?
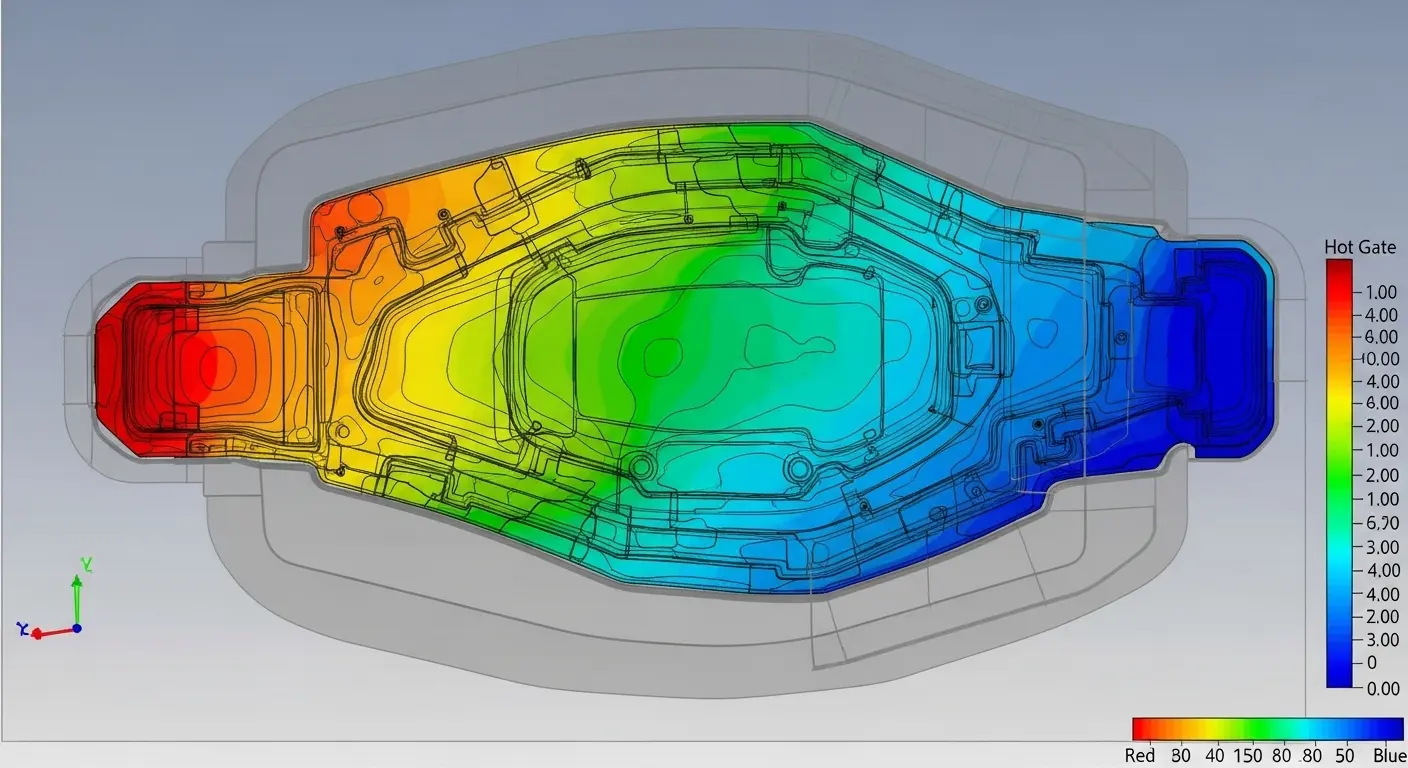
During dwelling, the screw continues to apply pressure to "pack" more plastic into the mold to compensate for the 15-20% shrinkage that occurs as the material cools. Once the "gate" (the entry point) solidifies, the dwelling ends, and the cooling stage begins, which accounts for up to 80% of the total cycle time.
Cooling is where most beginners lose money. If you haven't optimized your 2k injection molding part design for uniform wall thickness, some areas will cool slower than others, leading to warping or "sink marks."
Tip: Use "Conformal Cooling" in your mold design. This involves 3D printing the mold inserts with cooling channels that follow the exact contour of the part, allowing for 20-30% faster cooling than traditional straight-drilled lines.
How are Parts Successfully Ejected Without Damage?
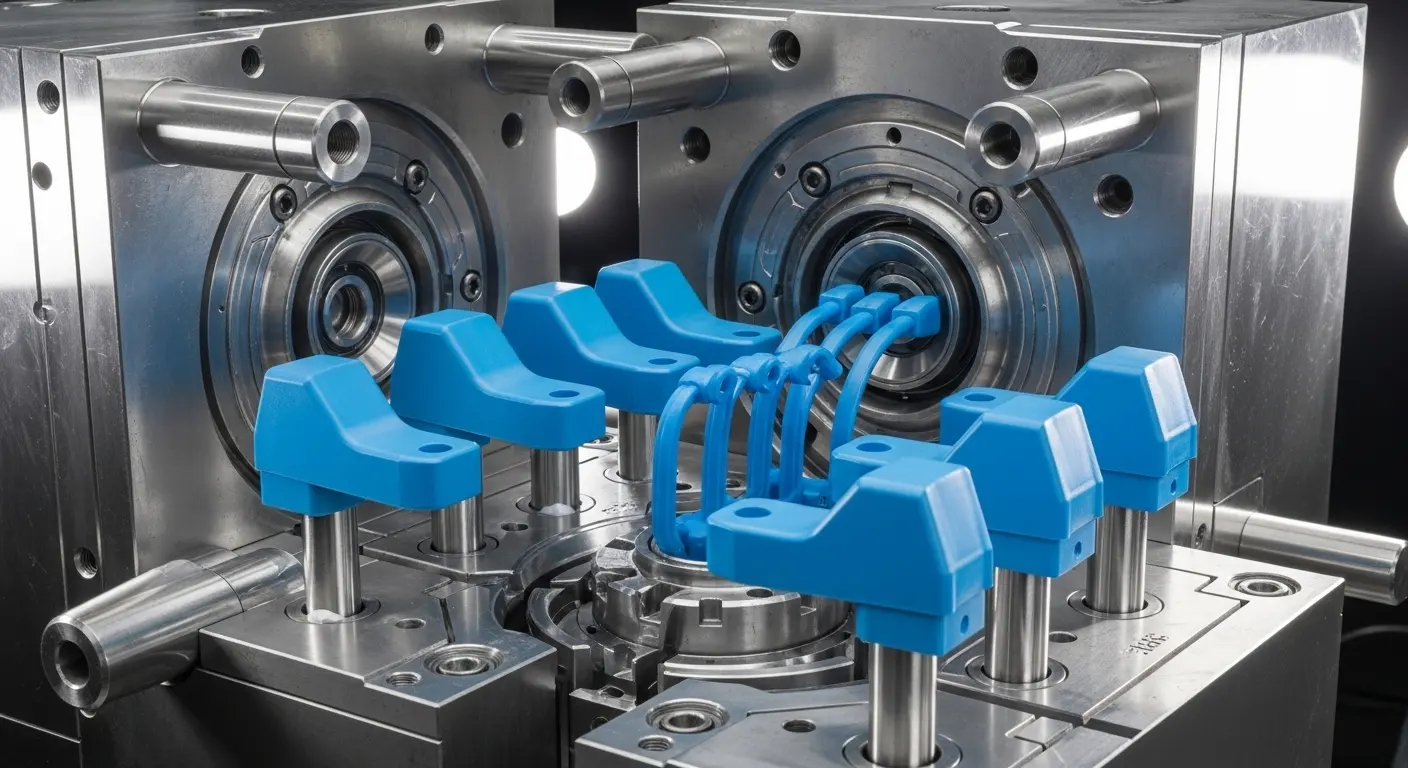
Parts are successfully ejected using a system of ejector pins, stripper plates, or air blasts that push the solidified part off the mold core. To ensure a clean release, the part must be designed with "draft angles"—slight tapers on the vertical walls—and the mold surface must be polished or textured according to the material’s specific "release" characteristics.
I once consulted on a medical device housing that kept cracking during ejection. The designer had zero draft on the internal ribs. The part was essentially "shrinking" onto the mold core like a death grip. By adding just 1 degree of draft and using a specialized mold release coating, we reduced the scrap rate from 15% to zero. If you are following a 2k injection molding guide, you’ll know that ejection becomes even more complex when dealing with soft-touch overmolds that like to stick to the tool.
What Factors Determine the Total Cycle Time?
The total cycle time is determined by the material's thermal conductivity, the wall thickness of the part, the efficiency of the mold’s cooling system, and the machine’s mechanical speed. Thicker walls require exponentially longer cooling times, meaning that a part with 4mm walls will take significantly more than twice as long to produce as a part with 2mm walls.
Cycle Time Breakdown Factors
- Material Type: Crystalline plastics (like PE) generally take longer to cool than amorphous ones (like ABS).
- Wall Thickness: Doubling thickness usually quadruples cooling time.
- Mold Material: Aluminum molds cool faster than steel molds but are less durable for high volumes.
- Machine Dynamics: High-speed electric machines can shave seconds off the "dry cycle" (opening and closing).
Understanding the 2k injection molding process benefits often reveals that while the cycle is more complex, it saves time on the "back end" by eliminating the need for secondary assembly or gluing.
Common Defects and How the Process Steps Fix Them
| Defect | Likely Cause in the Process | Fix |
| Sink Marks | Insufficient Dwelling pressure/time | Increase hold pressure or time. |
| Warping | Non-uniform Cooling | Redesign for uniform wall thickness. |
| Flash | Insufficient Clamping force | Increase tonnage or repair mold seal. |
| Short Shots | Injection pressure too low / Resin too cold | Increase injection speed or melt temp. |
| Burn Marks | Trapped gas (Air traps) | Slow down injection or improve mold venting. |
How to Optimize the Injection Molding Process for Cost?
To optimize the process for cost, focus on "Scientific Molding" principles, which use data from sensors inside the mold to create a repeatable "process window." By minimizing the cooling stage through advanced DFM (Design for Manufacturing) and ensuring the machine is perfectly sized for the mold, you can achieve the lowest possible per-unit cost while maintaining 100% quality.
Optimization isn't a one-time event; it's a continuous loop. Every time we start a new run, we perform a "short shot study" to find the exact point where the cavity is 95% full. This ensures we aren't over-packing the mold, which saves material and reduces stress on the tool.
Final Thought
Mastering the plastic injection molding process steps is an exercise in managing physics and thermodynamics. From the moment the pellets enter the hopper to the final "click" of the ejector pins, every second is a balance of pressure, temperature, and time. By diving deep into the mechanics of each stage, engineers can design parts that aren't just functional, but are "born to be manufactured." Whether you are a startup founder or a seasoned procurement officer, understanding this process is your most powerful tool for ensuring product success in a competitive global market.
